Languages management
Set up new languages
Truedat comes by default in English and Spanish but you can set up other languages as well. In oder to do so, in the Administration module go to Translations/Languages option and to the Manage tab.
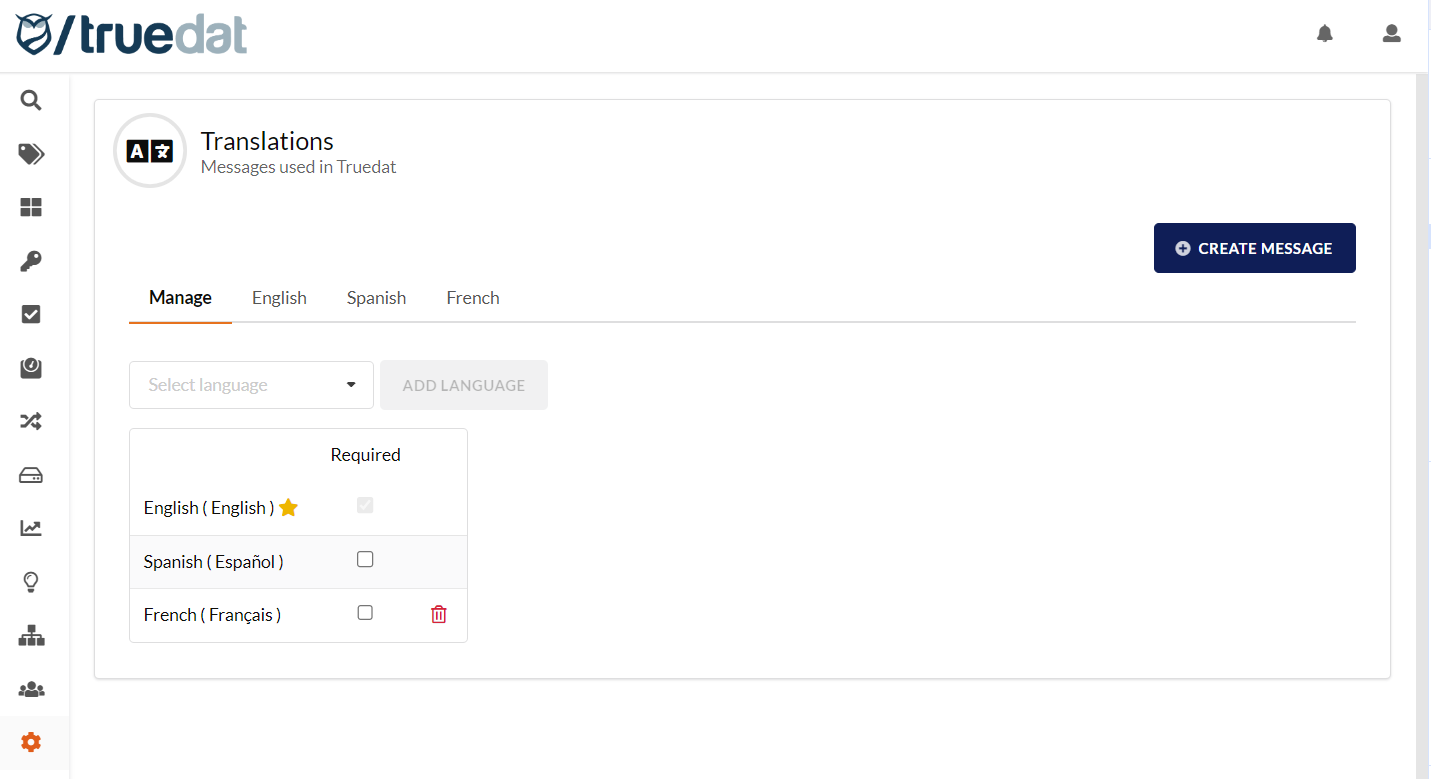
Once you add a new language, all the messages and their corresponding texts will be copied from the default language so you will need to modify them with the relevant translation for the new added language.
Texts within Truedat will be displayed in the language of the user's web browser but if this language is not set up in Truedat, then the default language will be used.
Customise texts
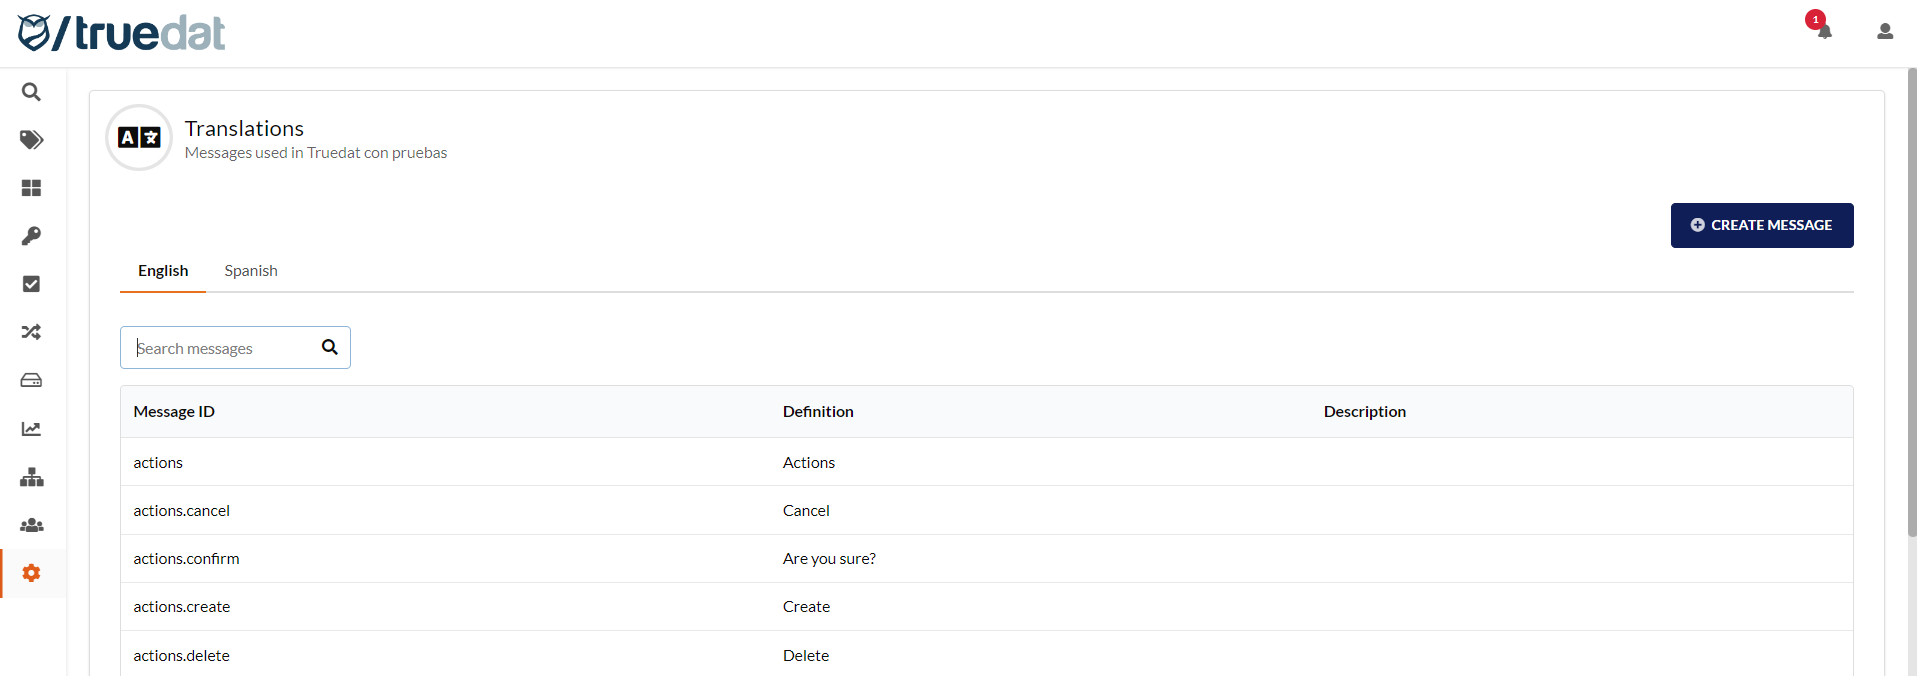
As an administrator you can customise most of the texts that appear in Truedat such as menu options, labels, messages, icons, etc. In order to do so, go to the menu option Administration > Translations where you will get the list of all the customisable text in the available languages.
Modify an existing text
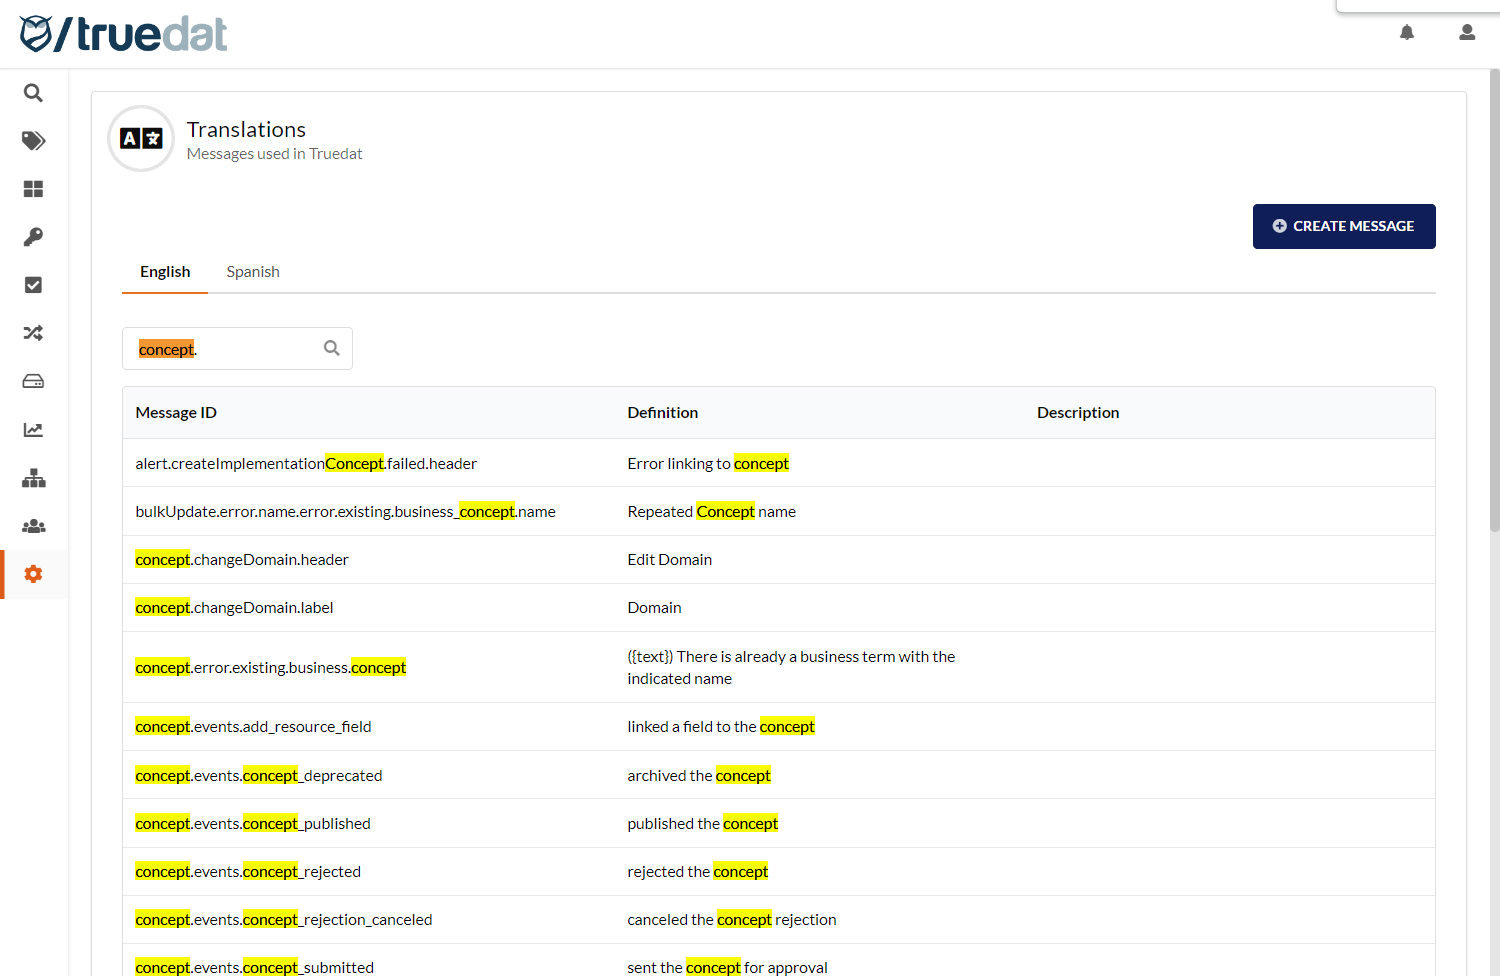
To modify an existing text, search for it in the search box. Click on the Definition and just edit it. You may add a description or note related to this message if required. The changes will be immediately applied and you will see the new text in the website. For example, you may want to change "concept" to "term", so if you search for "concept" you will get the list below and you just need to edit the definition of the messages and replace concept by term.
Create a new text
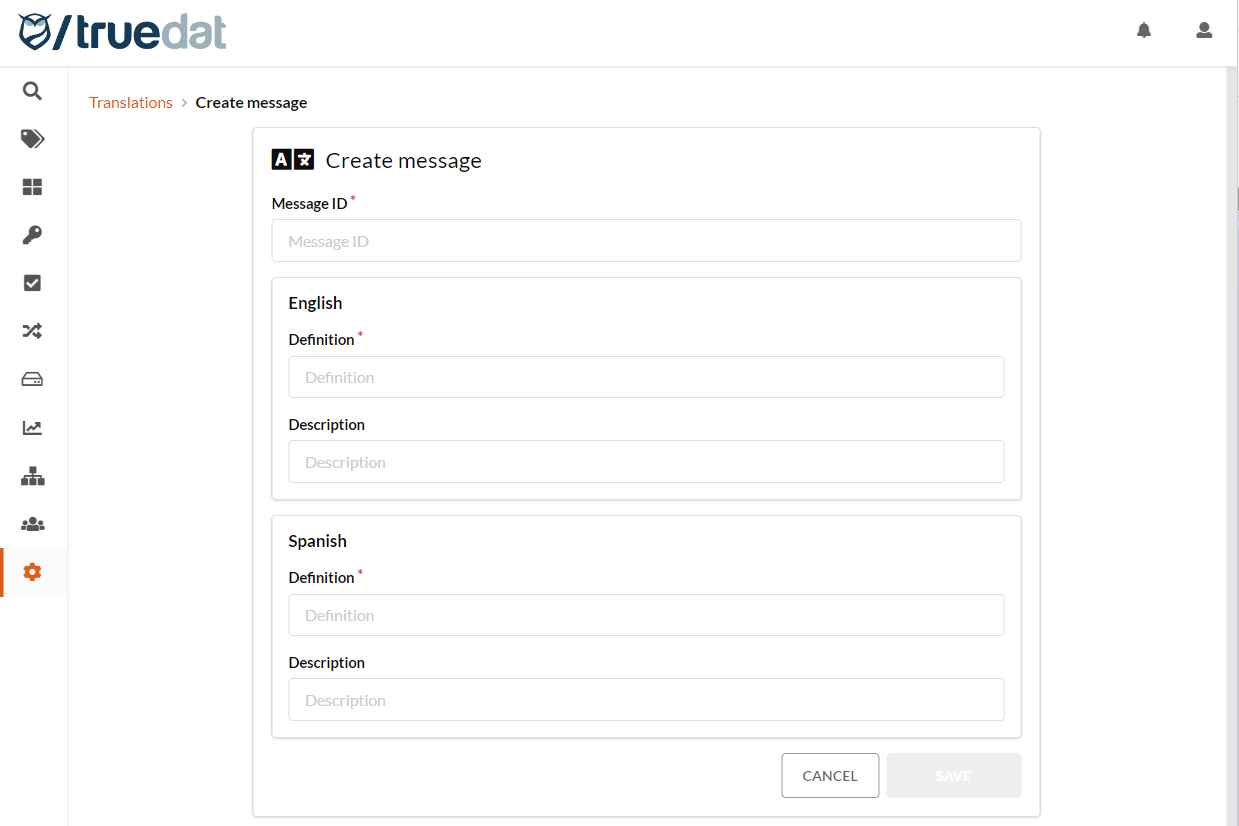
To create a new text, simply click on the Create Message button and complete the form with the Message ID, the text to be displayed in the different languages and optionally a description/note.
Customise menu texts
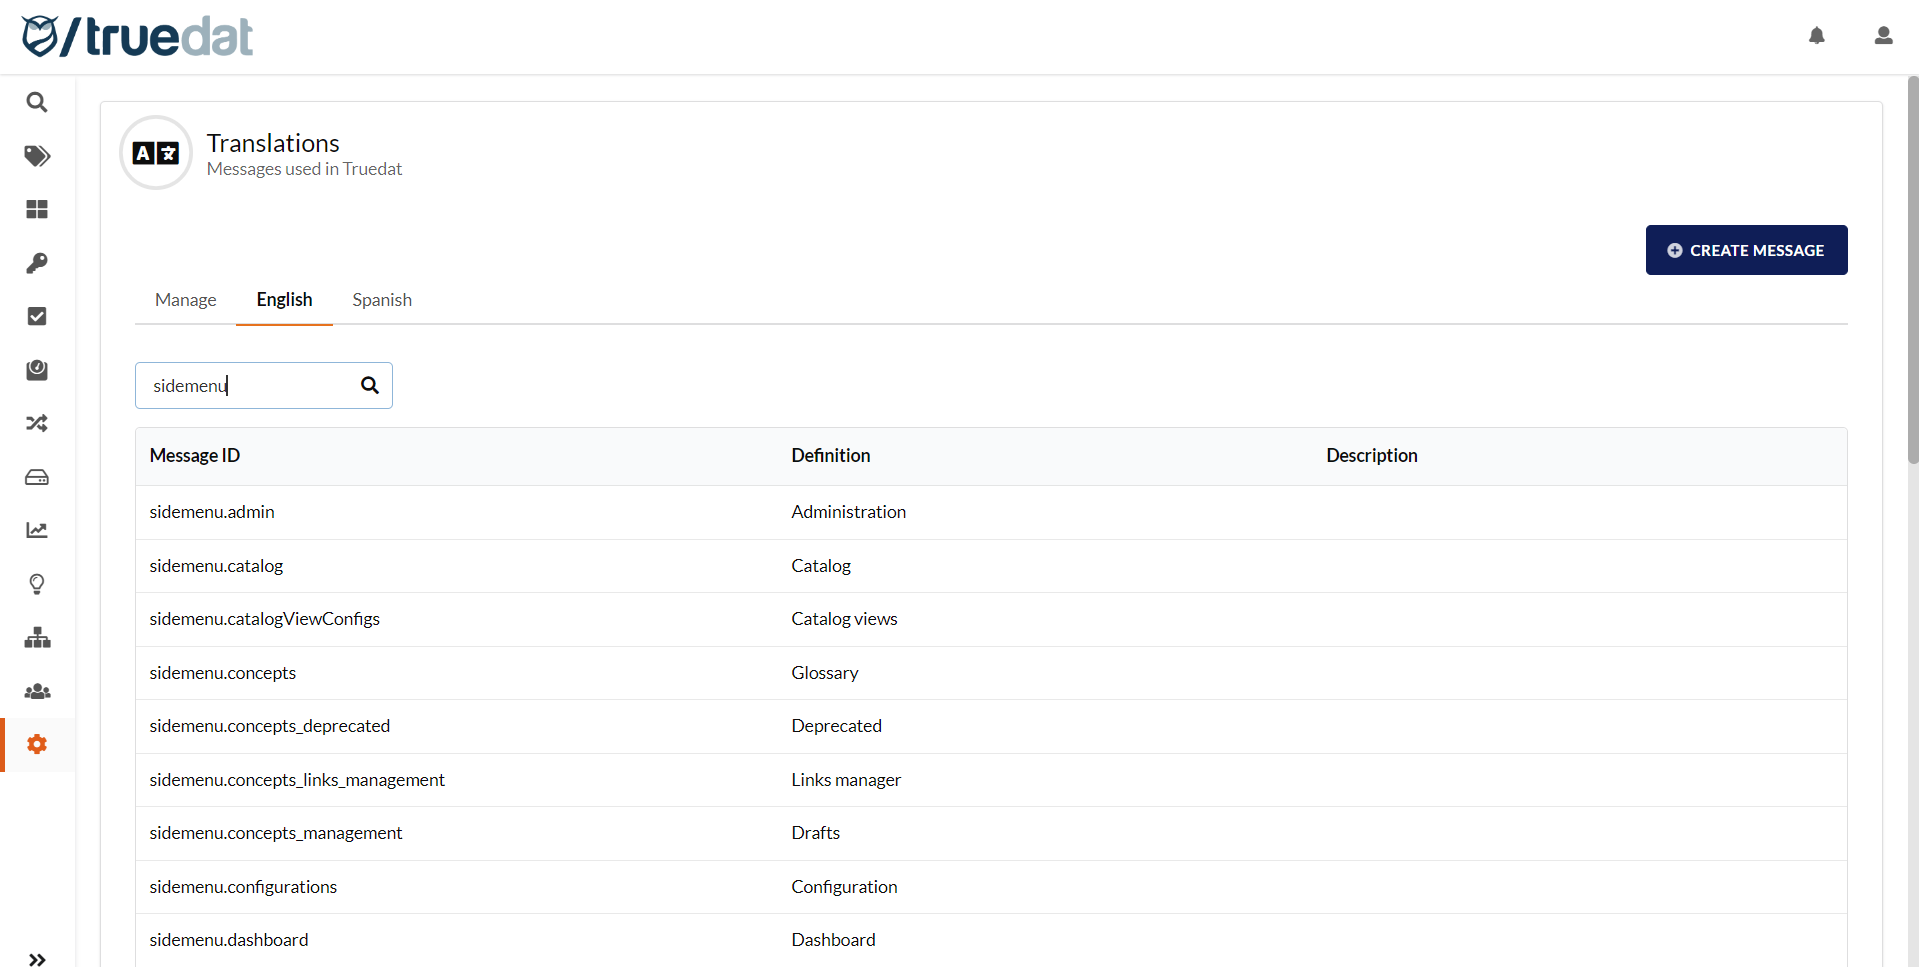
The menu texts can be customised as follows:
The Message ID will have the following pattern: "sidemenu.[name of the menu option]". Search for "sidemenu" and once you find the one you would like to change, just modify the Definition with the new name you would like to be displayed.
Customise menu icons
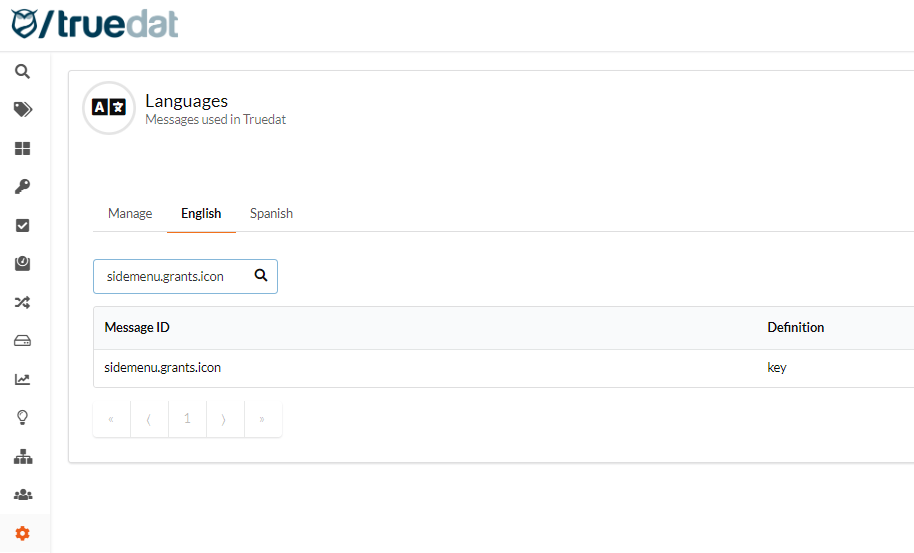
The menu icons can be customised as follows:
The Message ID will have the following pattern: "sidemenu.[name of the menu option].icon".
sidemenu.admin.icon
sidemenu.ai.icon
sidemenu.catalog.icon
sidemenu.dashboards.icon
sidemenu.glossary.icon
sidemenu.grants.icon
sidemenu.ingest.icon
sidemenu.lineage.icon
sidemenu.members.icon
sidemenu.quality.icon
sidemenu.qx.icon
sidemenu.search.icon
sidemenu.taxonomy.icon
The Definition will contain the name of the icon to be displayed which will be chosen from the list of Semantic UI React.
Customise page header icons
The menu icons can be customised as follows:
The Message ID will have the following pattern: "[name of the page].header.icon".
Glossary pages:
concepts.header.icon
conceptsUpload.header.icon
domains.header.icon
Data Catalog pages:
structureType.header.icon
structureTypes.header.icon
bulkUploadEvents.header.icon
grant.header.icon
structuresGrant.header.icon
referenceDatasets.header.icon
pendingStructureNotes.header.icon
tag.header.icon
tags.header.icon
lineage.events.header.icon
task.header.icon
Data Quality pages:
implementations.header.icon
quality.header.icon
Task automation pages:
ai.actions.header.icon
ai_sandbox.header.icon
prompts.header.icon
providers.header.icon
resourceMappings.header.icon
Members pages:
group.header.icon
role.header.icon
roles.header.icon
user.password.header.icon
users.header.icon
Administration pages:
templates.header.icon
hierarchies.header.icon
relationTags.header.icon
i18n.header.icon
elastic_index.header.icon
subscriptions.header.icon
configurations.header.icon
jobs.header.icon
sources.header.icon
Customise filter fields
The fields from the templates can be used to filter your searches. By default the text that is displayed is the name given in the template. If you want to change it so a more meaningful text is displayed, you can do so by creating a new message and assigning it the appropriate text.
The Message ID will have the following pattern: filters.[name of the field in the template]
The Definition will contain the text to be displayed.
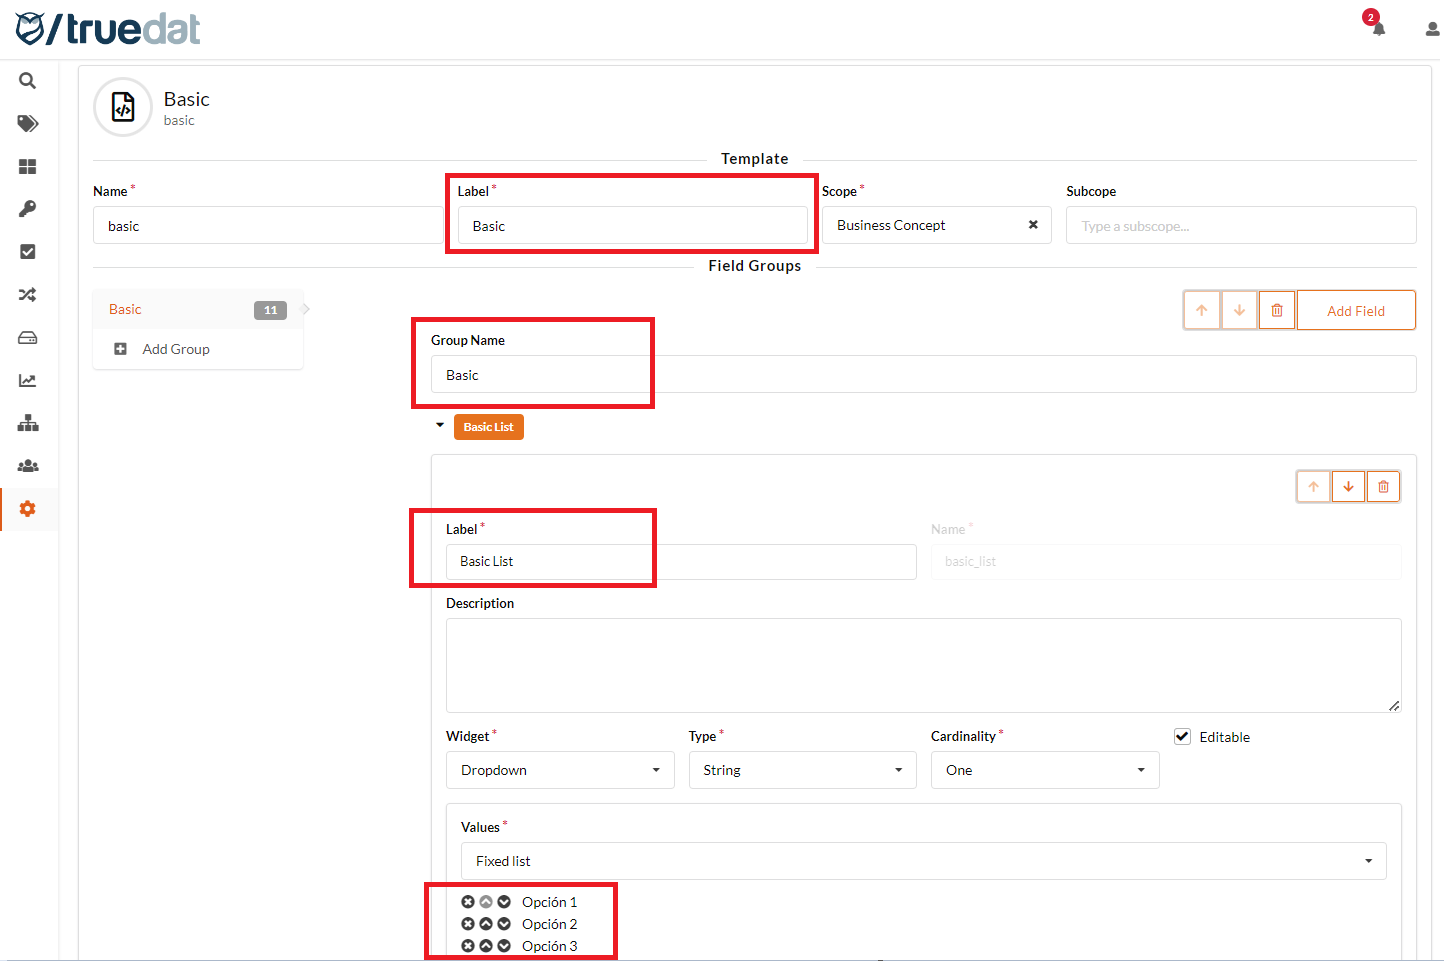
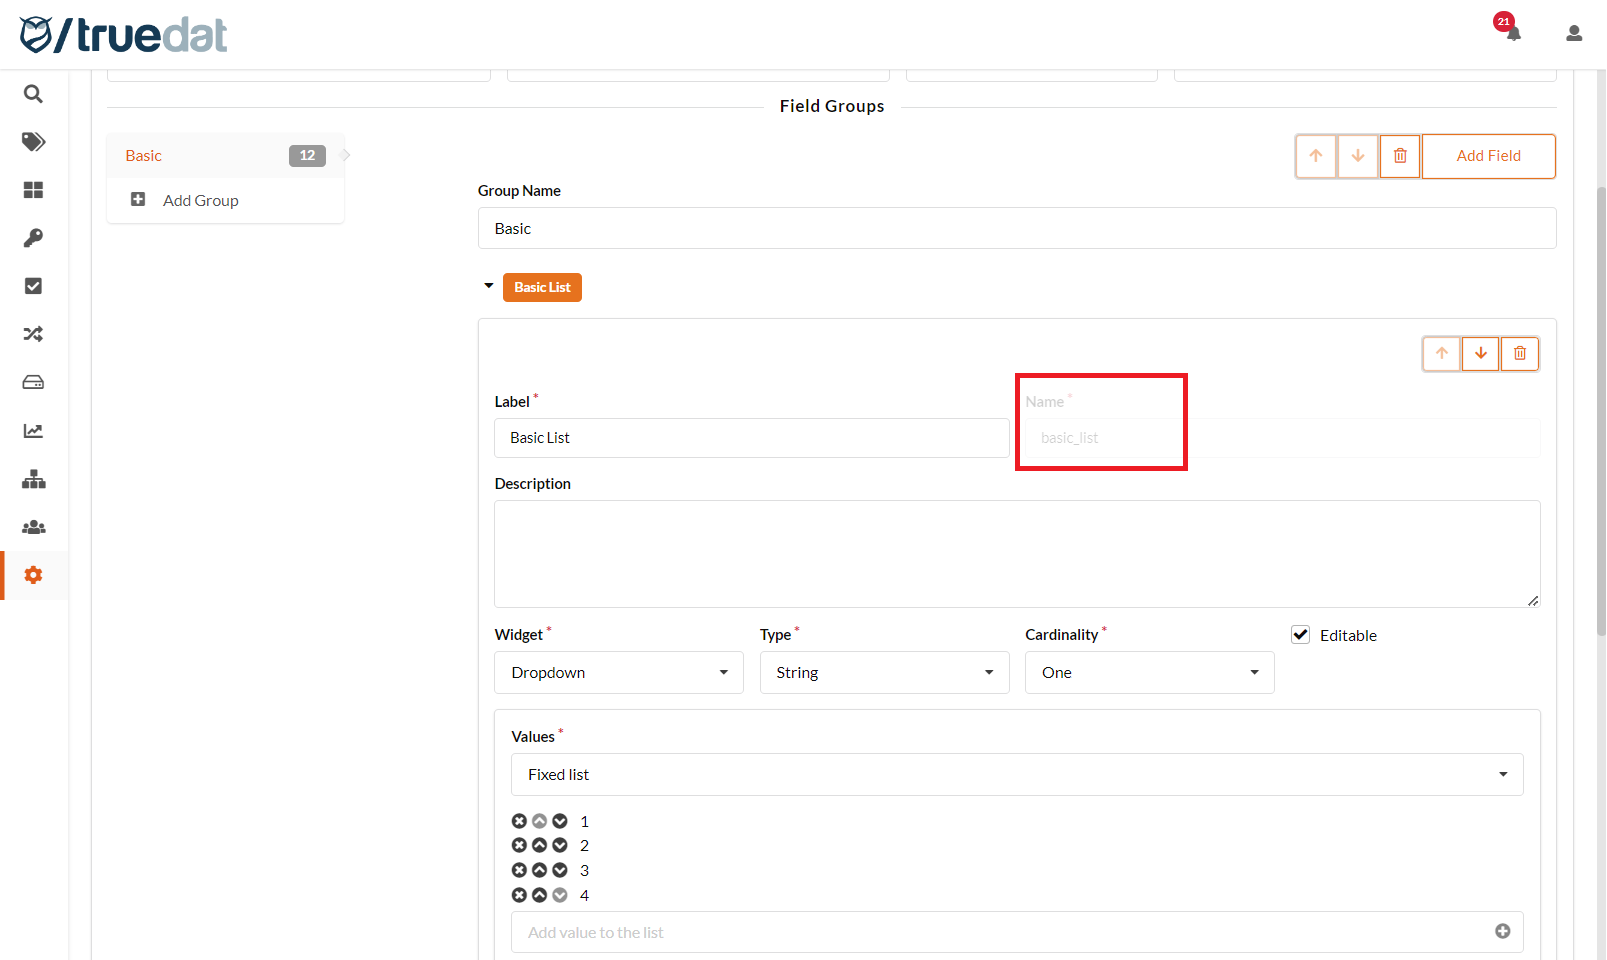
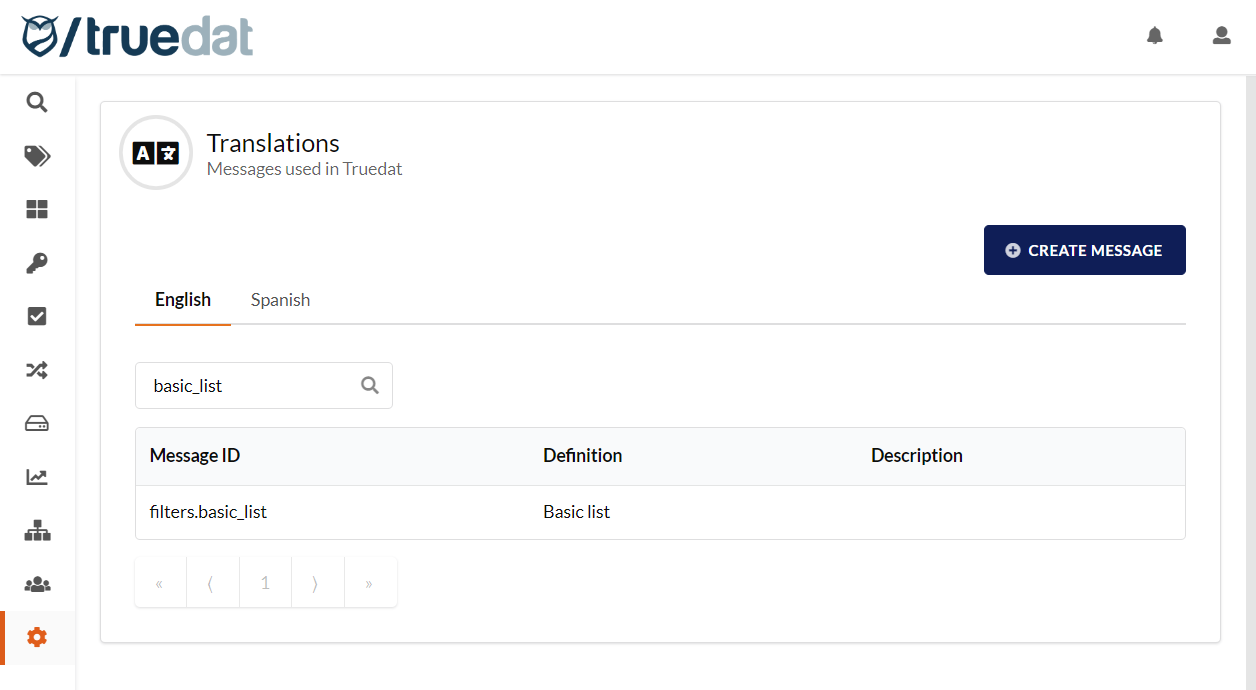
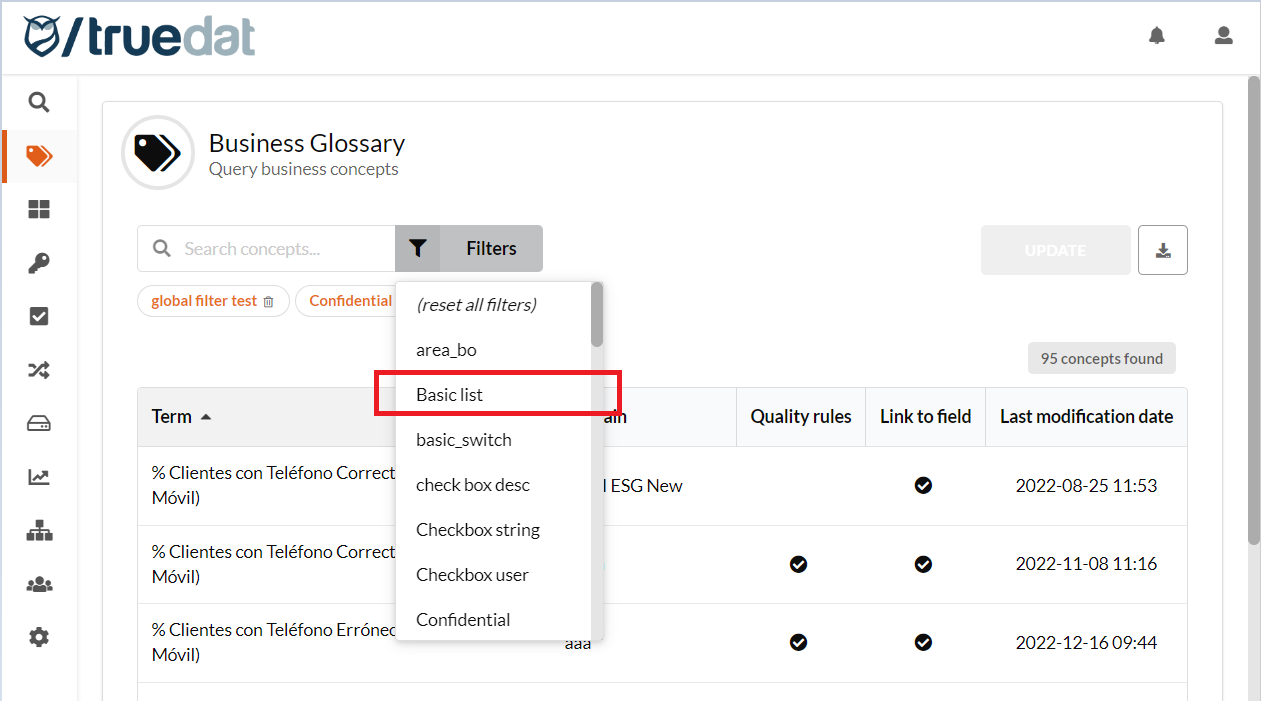
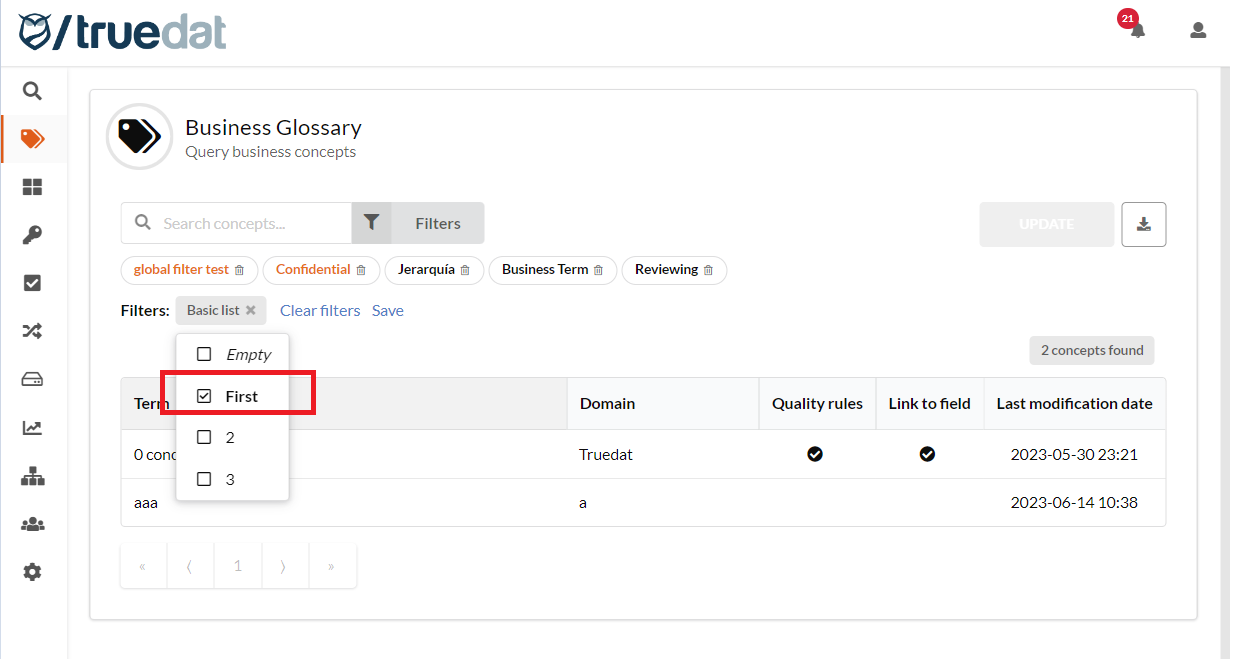
Example: In the template I have a field defined with name: basic_list. I want the filter to display "Basic list" instead of displaying "basic_list"
Customise values of filter fields
You can also customise the values displayed in the filter when the field in the template has been defined with a list of values.
The Message ID will have the following pattern: filters.[name of the field in the template].[value from the template]
The Definition will contain the text to be displayed.
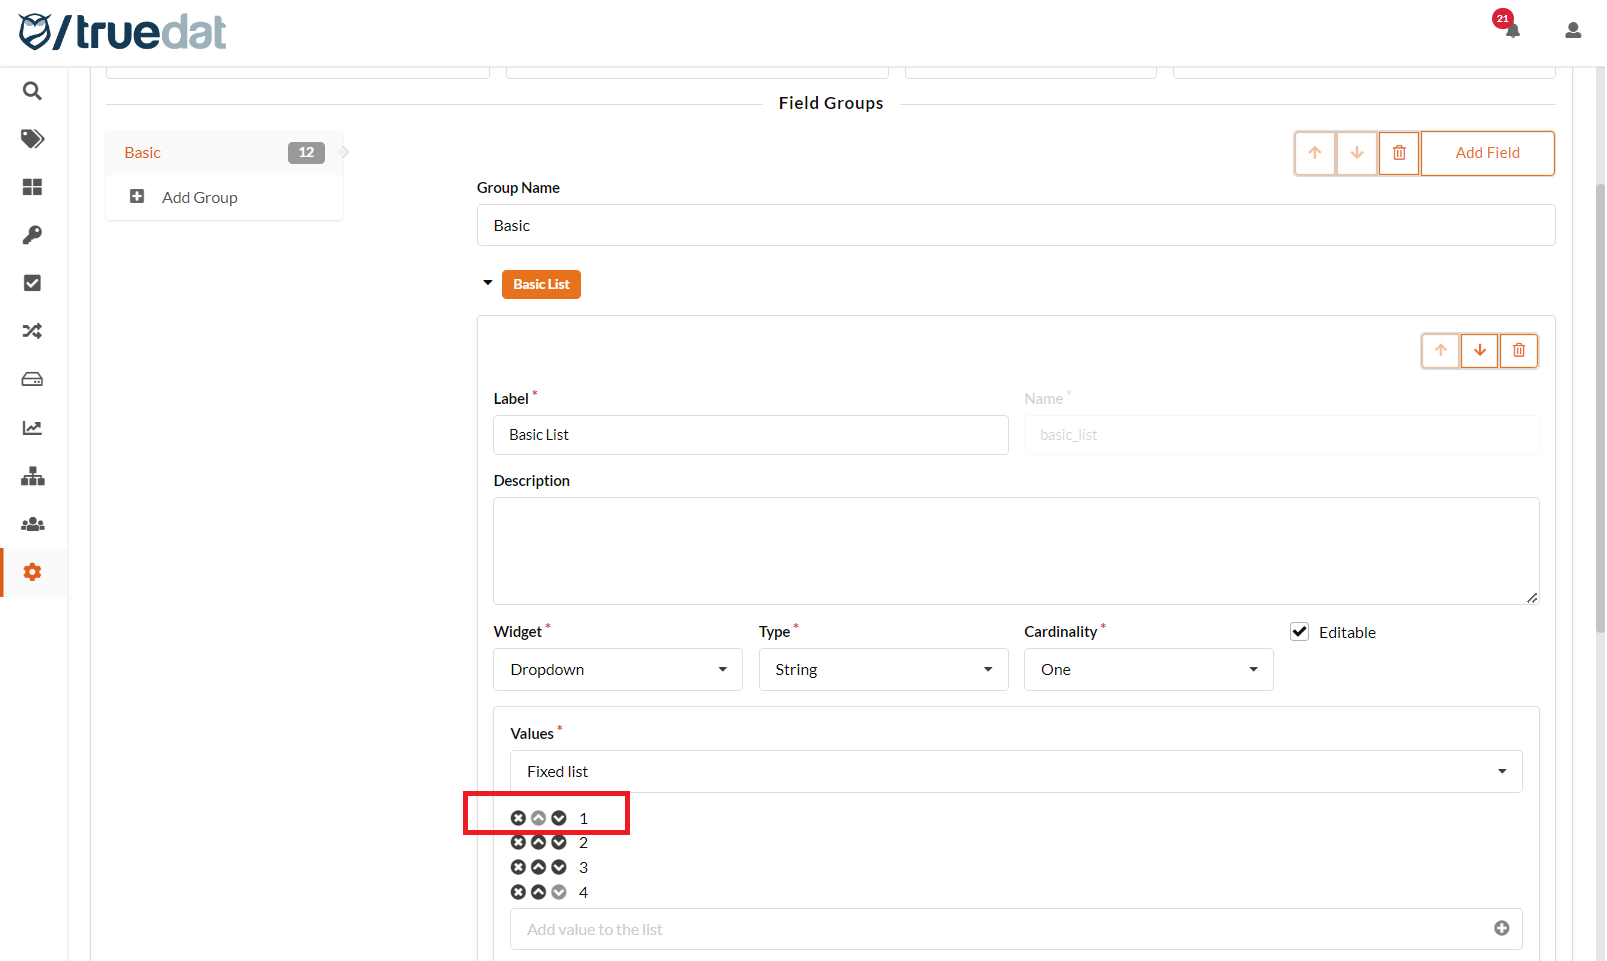
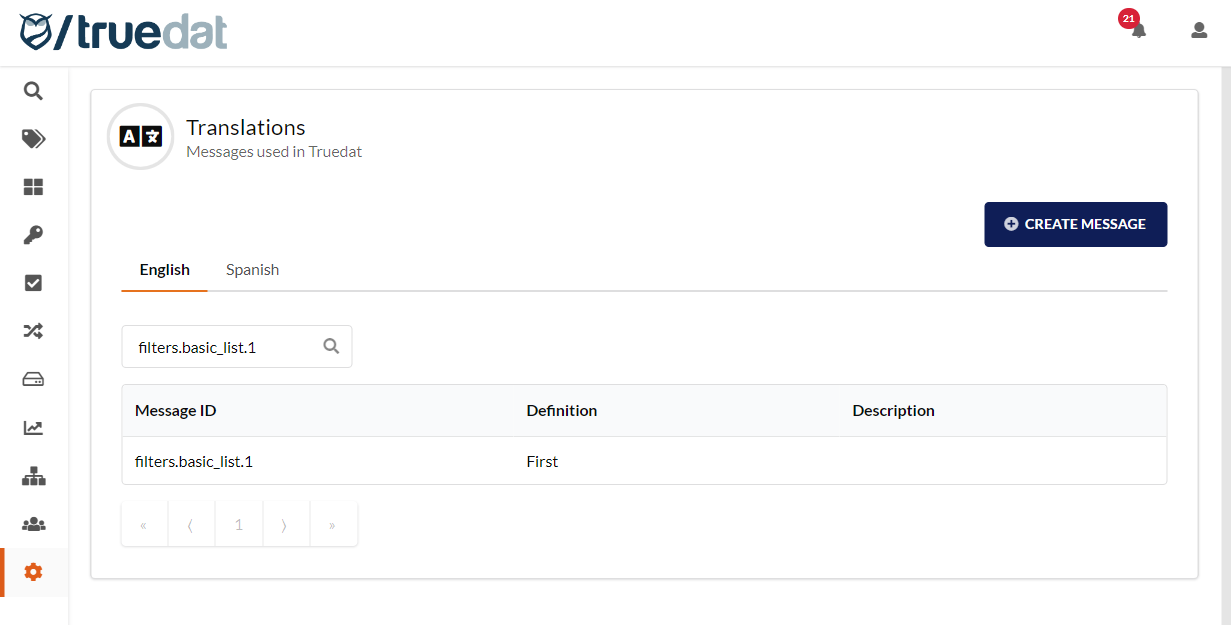
Example: The template has the field with name "basic_list" defined as a list of values: 1, 2, 3, 4. I want the filter to display "First" instead of "1".
Create a structure type icon
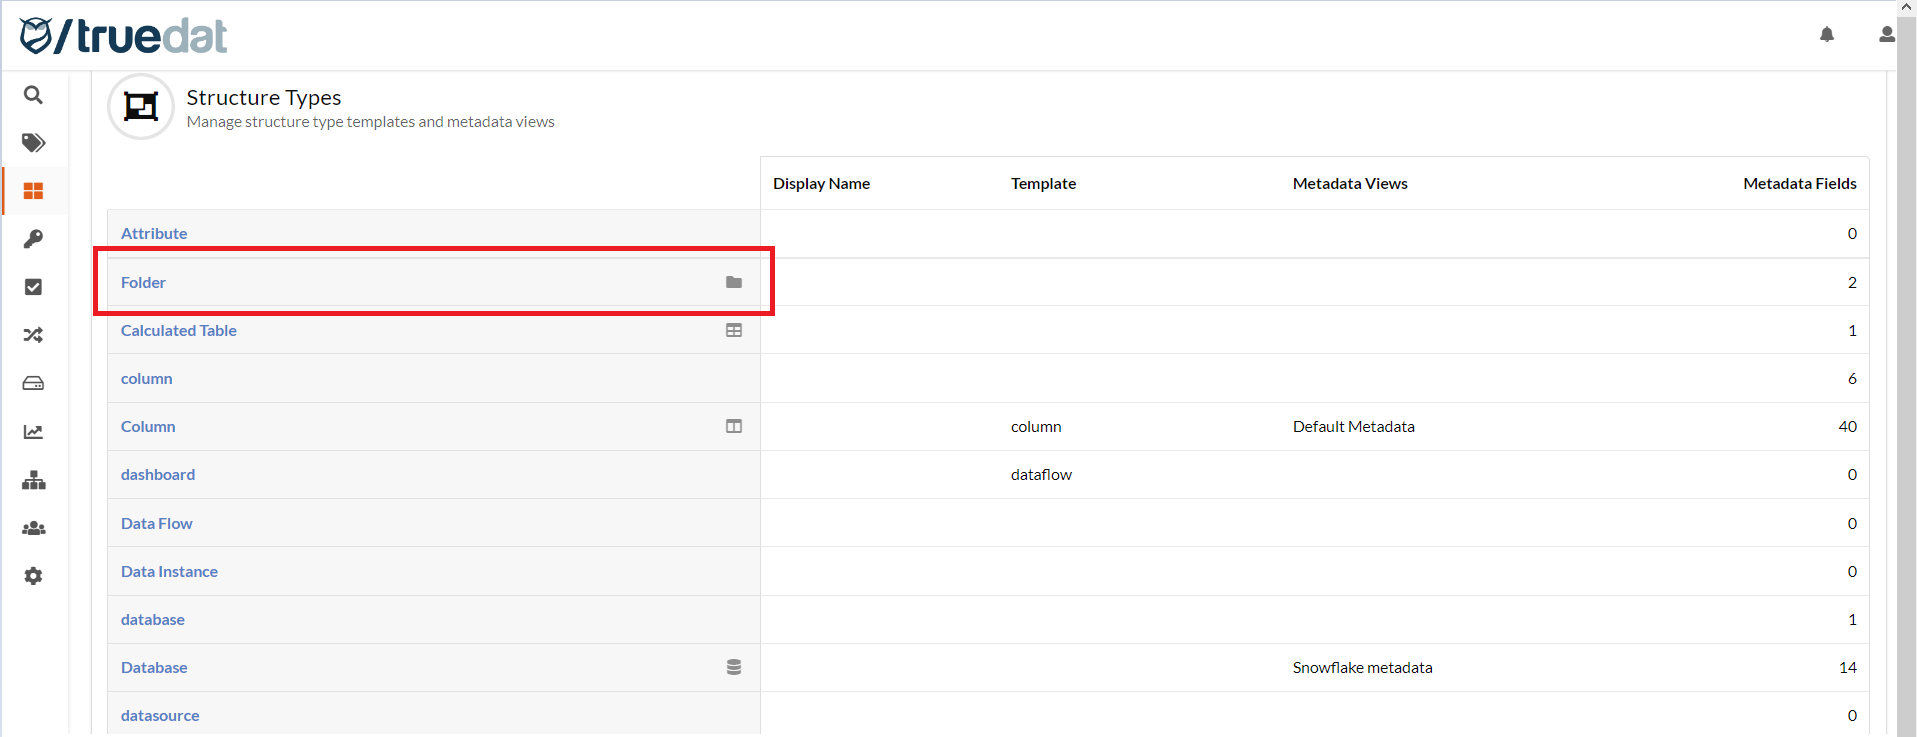
The icons displayed associated with the structure type can also be customised with a message.
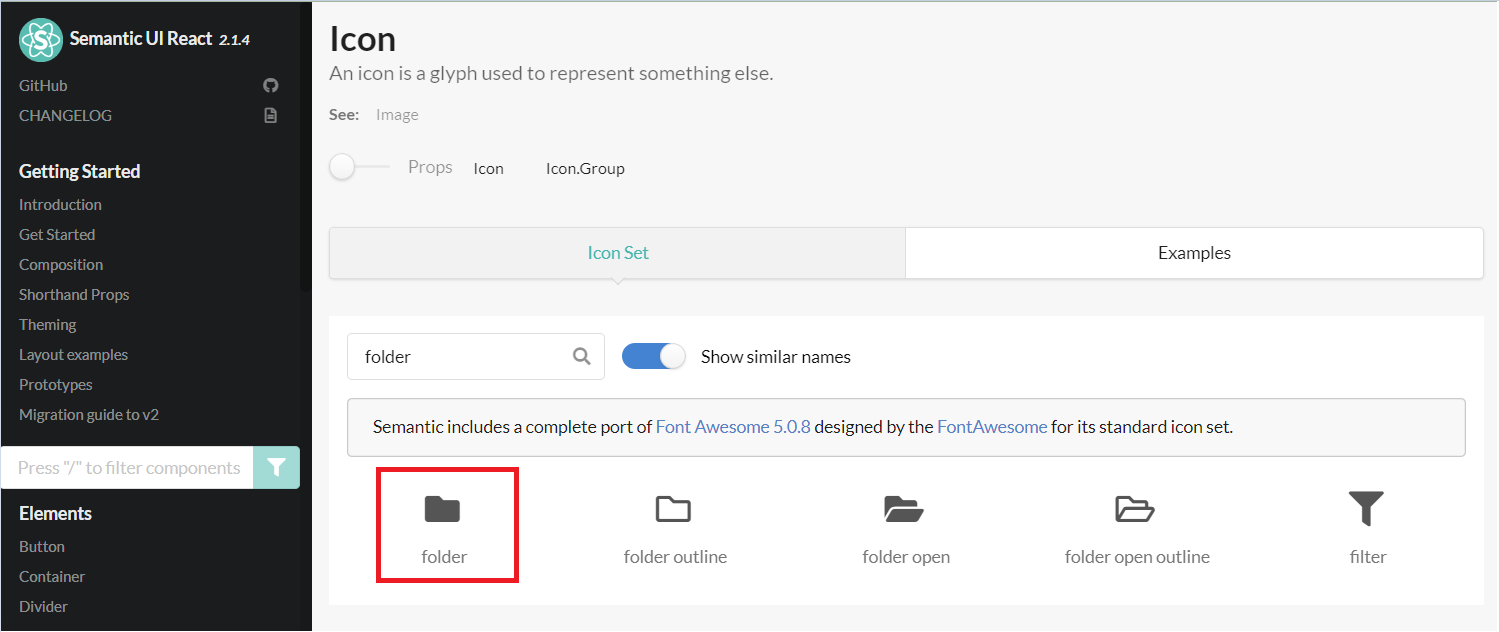
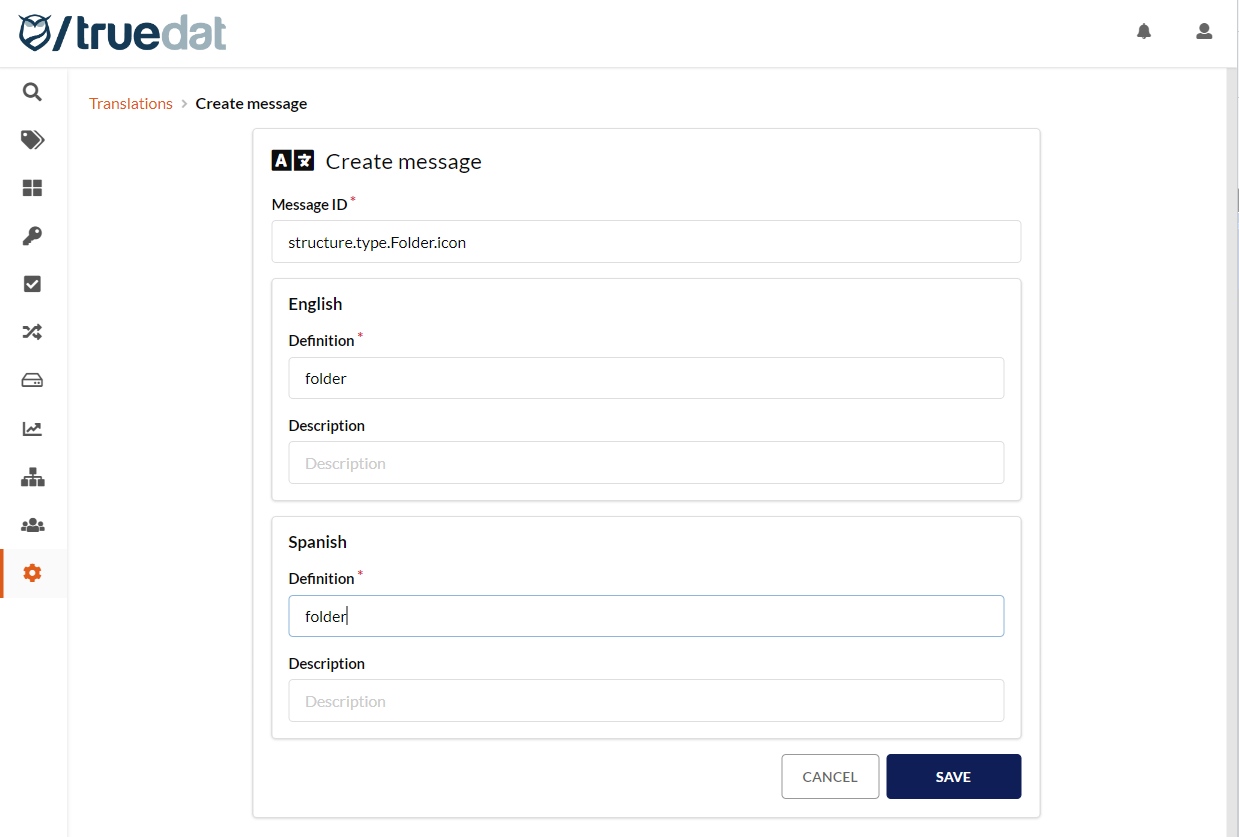
The Message ID for icons must have the following pattern: "structure.type.[structure type].icon". To customise the field's icon based on their type, e.g. string, numeric, boolean, etc., the Message ID must be: "structure.type.[field_type].icon".
The Definition will contain the name of the icon to be displayed which will be chosen from the list of Semantic UI React.
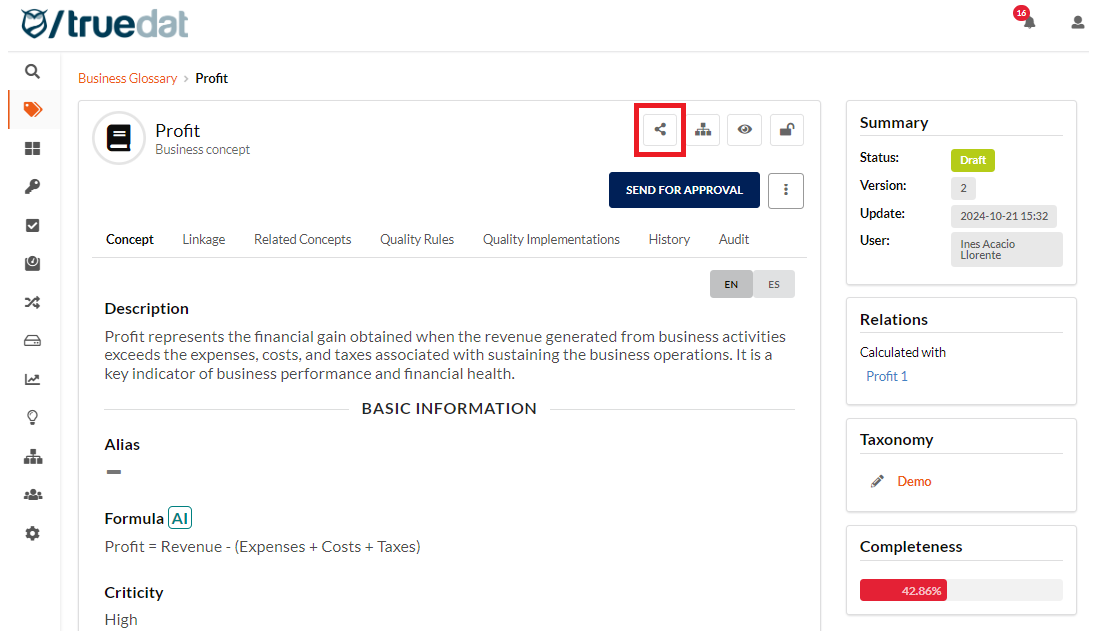
Share button for concepts and structures.
The following message can be used to customise the Share icon:
shareLink.concepts.icon
shareLink.structures.icon
The Definition will contain the name of the icon to be displayed which will be chosen from the list of Semantic UI React.
Translate template fields
The following messages can be used to localize template labels, field group names, fields and values:
templates.{label}
templates.groups.{group_name}
fields.{label}
fields.{label}.{value}
Note: In fields of type Dropdown > Key/value list, use the value (not the key) in the translation message.
